pgAdmin Preferences - pgAdmin 4 1.4 documentation
pgAdmin 4 has a selection of configuration options ( Preferences ) that you can use to customize your pgAdmin client. To open the Preferences dialog, select Preferences from the File menu.
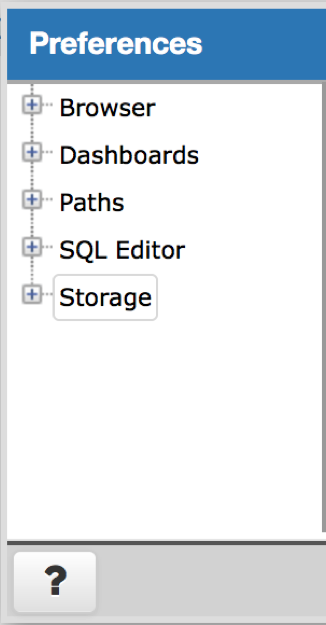
The left pane of the Preferences dialog displays a tree control; each node of the tree control provides access to options that are related to the selected node.
- Use the plus sign (+) to the left of a node to expand a segment of the tree control.
- Click the minus sign (-) to the left of a node to close that node.
Expand the Browser node of the tree control to personalize your workspace.

Use the options on the Display dialog to specify general display preferences:
Move the Show system objects switch to the True position to display system objects in the pgAdmin tree control. This option instructs pgAdmin to display objects such as system schemas (e.g. pg_temp*) and system columns (e.g. xmin, ctid) in the tree control.
Use the options on the Nodes dialog to select the object types that will be displayed in the pgAdmin tree control.
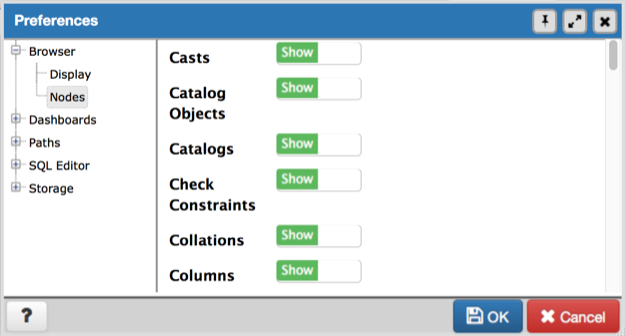
The right pane of the Preferences dialog displays a list of database objects. Slide the switch located next to each object to Show or Hide the database object. When querying system catalogs, you can reduce the number of object types displayed to increase speed.
Expand the Dashboards node to specify your graphing preferences.
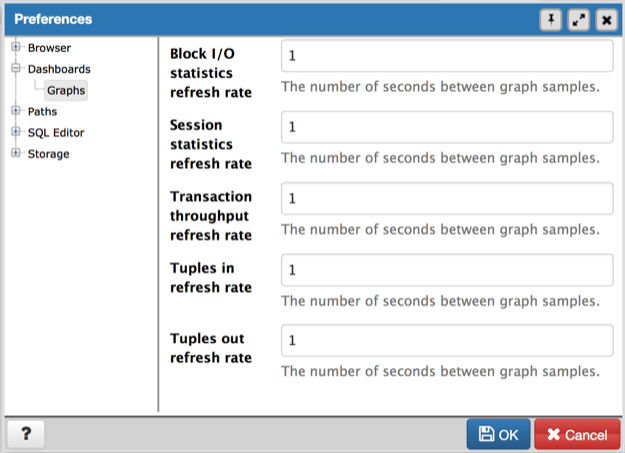
Use the options on the Graphs dialog specify a refresh rate for statistics, transaction throughput and tuples. The rate you specify will affect a corresponding graph on the Dashboard tab of the pgAdmin tabbed browser.
Expand the Paths node to specify the locations of supporting files.
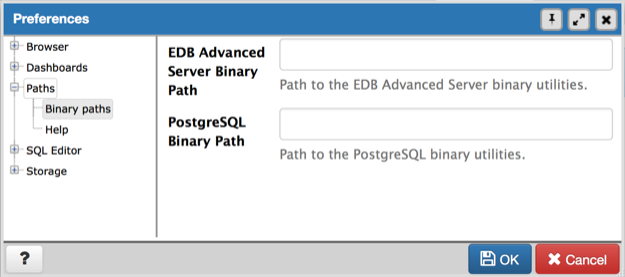
Use the fields in the Binary paths node to specify paths to the PostgreSQL binary utilities and EnterpriseDB Postgres Advanced Server binary utilities.
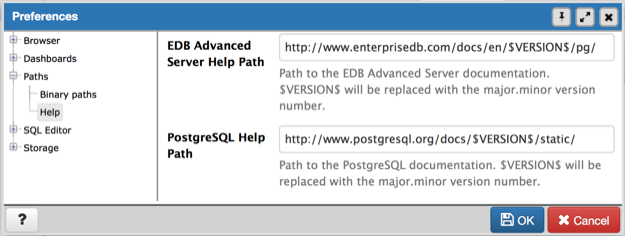
Use the Help dialog to customize links to support documentation.
- Use the EDB Advanced Server Help Path to find a link path for EnterpriseDB Postgres Advanced Server documentation on the company website. This link is editable: substitute the applicable PostgreSQL version number for $VERSION$ , or provide an alternate link path.
- Use the PostgreSQL Help Path to find a link path to the current set of PostgreSQL core documentation. This link is editable: substitute the applicable PostgreSQL version number for $VERSION$ , or provide an alternate link path.
Expand the SQL Editor node to specify your preferences for the SQL Editor tool.
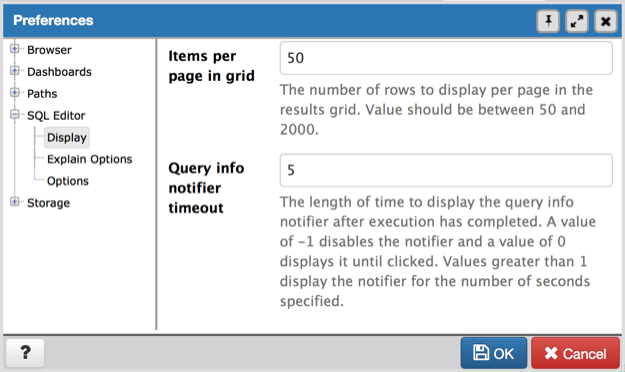
Use the Display dialog to specify your preferences for the SQL Editor display.
- Use the Query info notifier timeout to control the behaviour of the notifier that is displayed when query execution completes. A value of -1 will disable the notifier, and a value of 0 will display it until clicked. If a positive value above zero is specified, the notifier will be displayed for the specified number of seconds. The default is 5 .
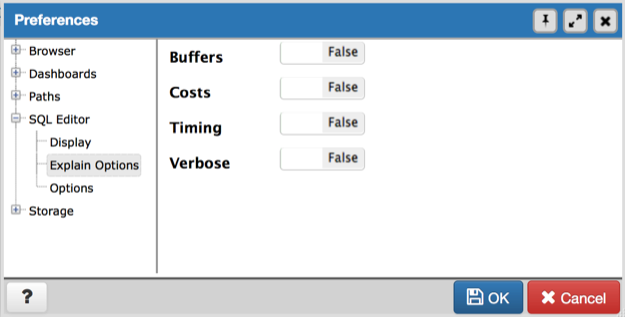
Use the options on the Explain Options dialog to specify the level of detail included in a graphical EXPLAIN.
- Move the Buffers switch to the True position to include information on buffer usage.
- Move the Costs switch to the True position to include information on the estimated startup and total cost of each plan, as well as the estimated number of rows and the estimated width of each row.
- Move the Timing switch to the True position to include actual startup time and time spent in each node in the output.
- Move the Verbose switch to the True position to display additional information regarding the plan.
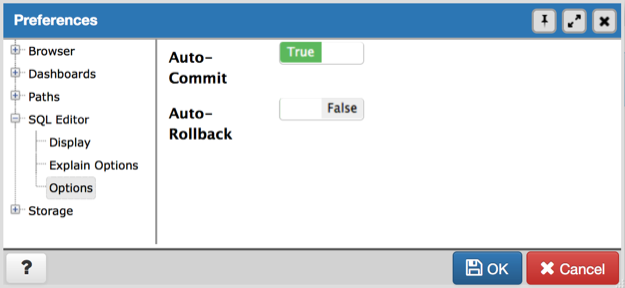
Use the options in the Options dialog to manage modifications to a SQL statement.
- Move the Auto-Commit switch to the True position to commit a SQL statement upon completion.
- Move the Auto-Rollback switch to the True to rollback a SQL statement to the beginning of the statement or to a prior rollback.
Expand the Storage node to specify a maximum file size for uploads.
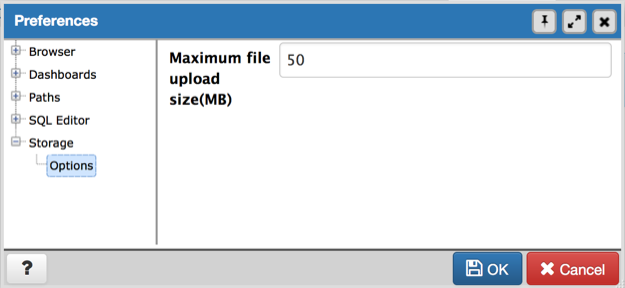
Use the Maximum file upload size(MB) in the Options node of the Storage node to specify the maximum file size for an upload.