The Package Dialog - pgAdmin 4 1.5 documentation
Use the Package dialog to create a (user-defined) package specification.
The Package dialog organizes the management of a package through the following dialog tabs: General , Code , and Security . The SQL tab displays the SQL code generated by dialog selections.
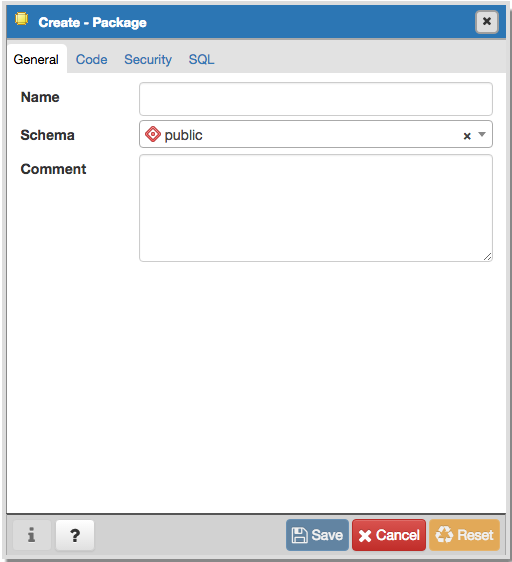
Use the fields in the General tab to identify the package:
- Use the Name field to add a descriptive name for the package. The name of a new package must not match any existing package in the same schema.
- Select the schema in which the package will reside from the drop-down listbox in the Schema field.
- Store notes about the package in the Comment field.
Click the Code tab to continue.
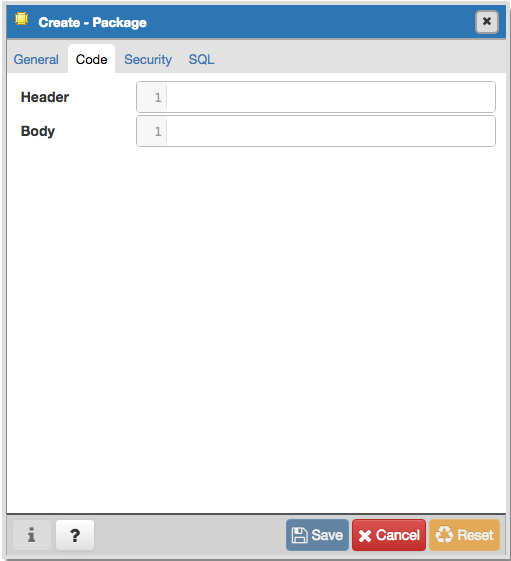
Use the fields in the Code tab to specify the package contents and to provide implementation details:
- Use the Header field to define the public interface for the package.
- Use the Body field to provide the code that implements each package object.
Click the Security tab to continue.
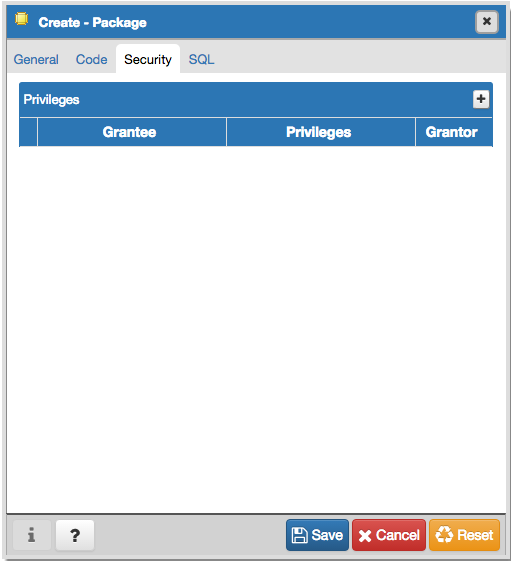
Use the fields in the Security tab to to assign EXECUTE privileges for the package to a role. Click the Add icon (+) to set privileges for the package:
- Select the name of the role from the drop-down listbox in the Grantee field.
- Click inside the Privileges field. Check the boxes to the left of a privilege to grant the selected privilege to the specified user.
- Select the name of a role from the drop-down listbox in the Grantor field. The default grantor is the owner of the package.
Click the Add icon (+) to assign additional privileges; to discard a privilege, click the trash icon to the left of the row, and confirm the deletion in the Delete Row popup.
Click the SQL tab to continue.
Your entries in the Package dialog generate a SQL command that creates or modifies a package definition:
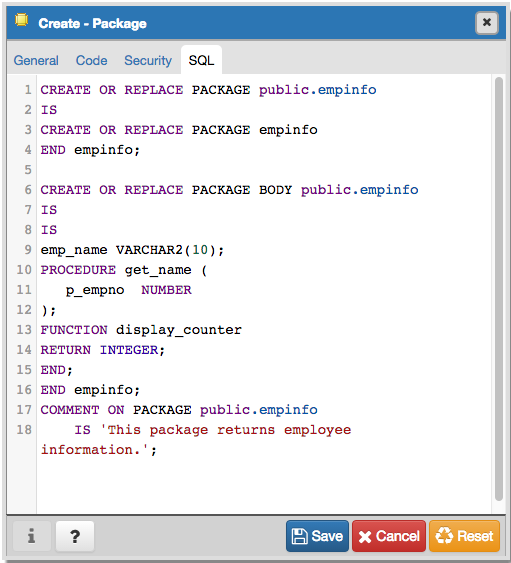
The example shown demonstrates creating a package named empinfo that includes one function and one procedure.
- Click the Save button to save work.
- Click the Cancel button to exit without saving work.
- Click the Reset button to delete any changes to the dialog.