Check Dialog - pgAdmin 4 4.18 documentation
Use the Check dialog to define or modify a check constraint. A check constraint specifies an expression that produces a Boolean result that new or updated rows must satisfy for an insert or update operation to succeed.
The Check dialog organizes the development of a check constraint through the General and Definition tabs. The SQL tab displays the SQL code generated by dialog selections.
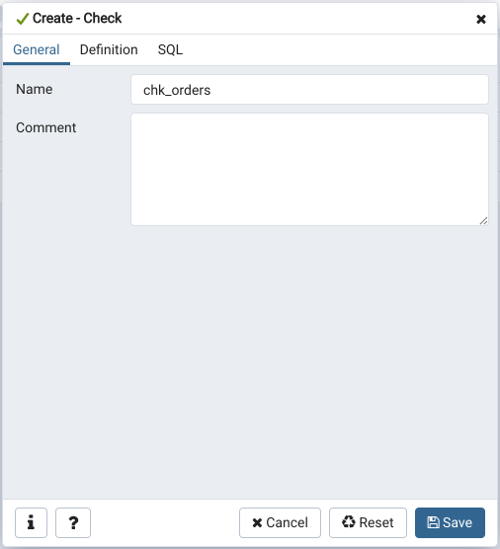
Use the fields in the General tab to identify the check constraint:
- Use the Name field to provide a descriptive name for the check constraint that will be displayed in the pgAdmin tree control. With PostgreSQL 9.5 forward, when a table has multiple check constraints, they will be tested for each row in alphabetical order by name and after NOT NULL constraints.
- Store notes about the check constraint in the Comment field.
Click the Definition tab to continue.
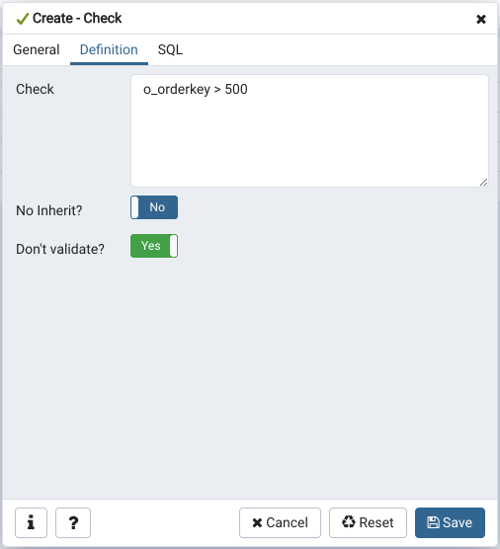
Use the fields in the Definition tab to define the check constraint:
- Provide the expression that a row must satisfy in the Check field.
- Move the No Inherit? switch to the Yes position to specify that this constraint is not automatically inherited by a table’s children. The default is No , meaning that the constraint will be inherited by any children.
- Move the Don’t validate? switch to the No position to skip validation of existing data; the constraint may not hold for all rows in the table. The default is Yes .
Click the SQL tab to continue.
Your entries in the Check dialog generate a SQL command (see an example below). Use the SQL tab for review; revisit or switch tabs to make any changes to the SQL command.
Example
The following is an example of the sql command generated by user selections in the Check dialog:
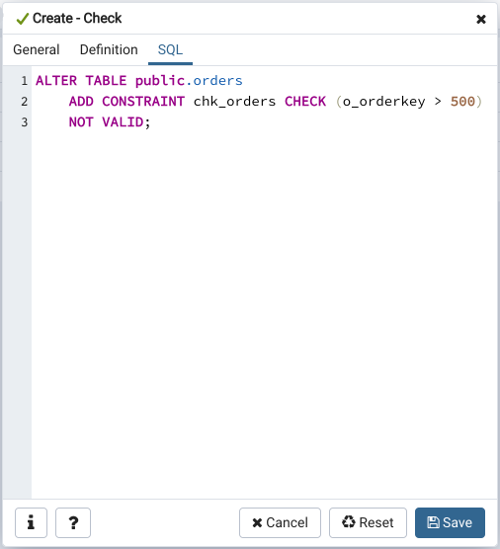
The example shown demonstrates creating a check constraint named check_price on the price column of the products table. The constraint confirms that any values added to the column are greater than 0.
- Click the Info button (i) to access online help.
- Click the Save button to save work.
- Click the Cancel button to exit without saving work.
- Click the Reset button to restore configuration parameters.