Trigger Dialog - pgAdmin 4 4.18 documentation
Use the Trigger dialog to create a trigger or modify an existing trigger. A trigger executes a specified function when certain events occur.
The Trigger dialog organizes the development of a trigger through the following dialog tabs: General , Definition , Events , and Code . The SQL tab displays the SQL code generated by dialog selections.
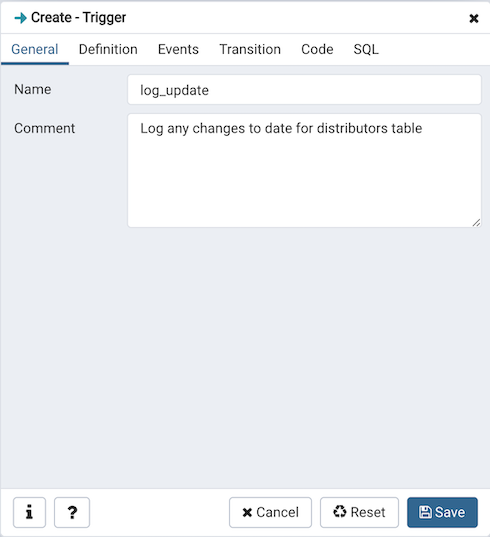
Use the fields in the General tab to identify the trigger:
- Use the Name field to add a descriptive name for the trigger. This must be distinct from the name of any other trigger for the same table. The name will be displayed in the pgAdmin tree control. Note that if multiple triggers of the same kind are defined for the same event, they will be fired in alphabetical order by name.
- Store notes about the trigger in the Comment field.
Click the Definition tab to continue.
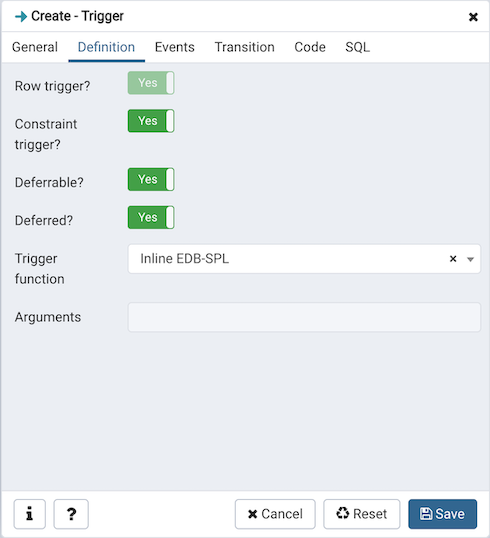
Use the fields in the Definition tab to define the trigger:
- Move the Row trigger? switch to the No position to disassociate the trigger from firing on each row in a table. The default is Yes .
- Move the Constraint trigger? switch to the Yes position to specify the trigger is a constraint trigger.
- If enabled, move the Deferrable? switch to the Yes position to specify the timing of the constraint trigger is deferrable and can be postponed until the end of the statement. The default is No .
- If enabled, move the Deferred? switch to the Yes position to specify the timing of the constraint trigger is deferred to the end of the statement causing the triggering event. The default is No .
- Use the drop-down listbox next to Trigger Function to select a trigger function or procedure.
- Use the Arguments field to provide an optional (comma-separated) list of arguments to the function when the trigger is executed. The arguments are literal string constants.
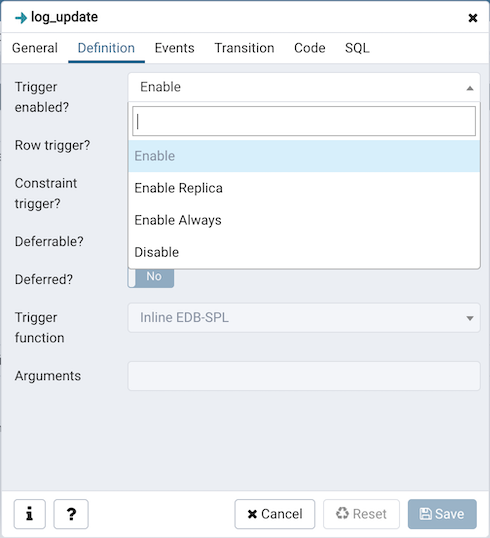
- Trigger enabled field is available in trigger dialog once the trigger is created. You can select one of the four options available.
Click the Events tab to continue.
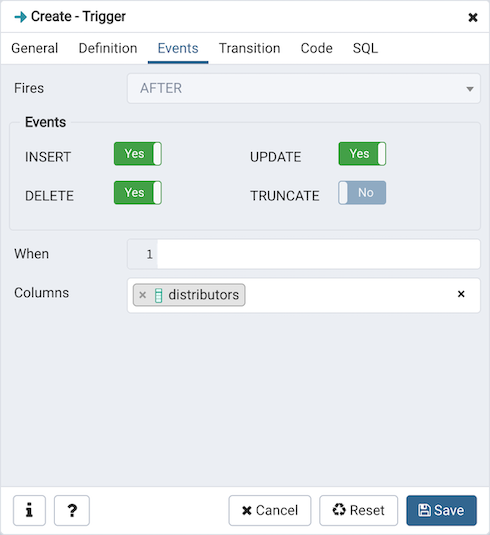
Use the fields in the Events tab to specify how and when the trigger fires:
- Use the drop-down listbox next to the Fires fields to determine if the trigger fires BEFORE or AFTER a specified event. The default is BEFORE .
- Select the type of event(s) that will invoke the trigger; to select an event type, move the switch next to the event to the YES position. The supported event types are INSERT , UPDATE , DELETE , and TRUNCATE .
- Use the When field to provide a boolean condition that will invoke the trigger.
- If defining a column-specific trigger, use the Columns field to specify the columns or columns that are the target of the trigger.
Click the Code tab to continue.
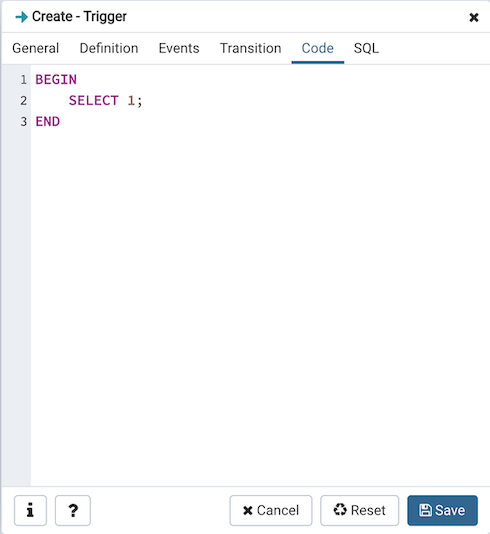
Use the Code field to specify any additional code that will be invoked when the trigger fires.
Click the SQL tab to continue.
Your entries in the Trigger dialog generate a SQL command (see an example below). Use the SQL tab for review; revisit or switch tabs to make any changes to the SQL command.
Example 
The following is an example of the sql command generated by user selections in the Trigger dialog:
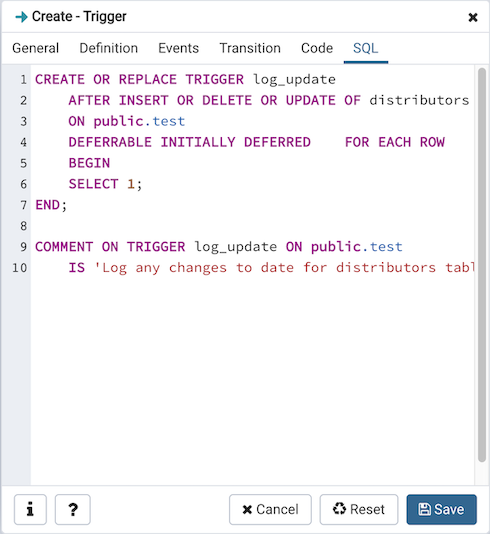
The example demonstrates creating a trigger named log_update .
- Click the Info button (i) to access online help.
- Click the Save button to save work.
- Click the Cancel button to exit without saving work.
- Click the Reset button to restore configuration parameters.