Column Dialog - pgAdmin 4 4.30 documentation
Use the Column dialog to add a column to an existing table or modify a column definition.
The Column dialog organizes the development of a column through the following dialog tabs: General , Definition , and Security . The SQL tab displays the SQL code generated by dialog selections.
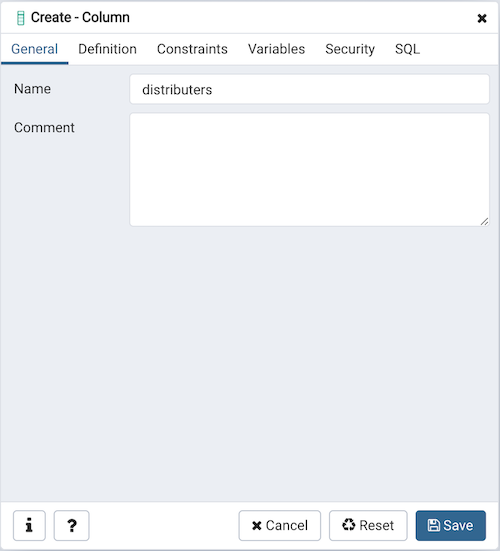
Use the fields in the General tab to identify the column:
- Use the Name field to add a descriptive name for the column. The name will be displayed in the pgAdmin tree control. This field is required.
- Store notes about the column in the Comment field.
Click the Definition tab to continue.
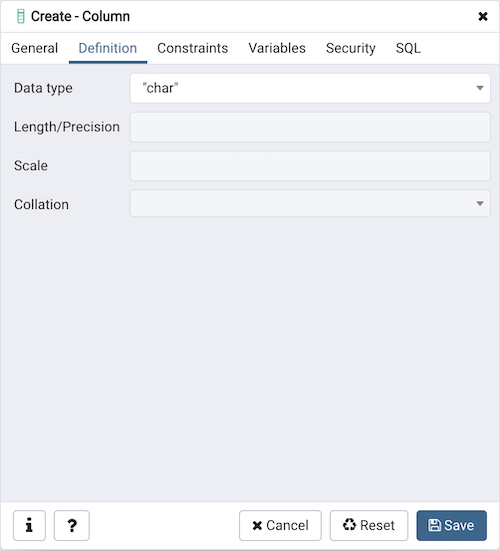
Use the fields in the Definition tab to add parameters for the column. (Fields are disabled if inapplicable.)
- Use the drop-down listbox next to Data Type to select a data type for the column. For more information on the data types that are supported by PostgreSQL, refer to Chapter 8 of the Postgres core documentation. This field is required.
- Use the Length/Precision and Scale fields to specify the maximum number of significant digits in a numeric value, or the maximum number of characters in a text value.
- Use the drop-down listbox next to Collation to apply a collation setting to the column.
Click the Constraints tab to continue.
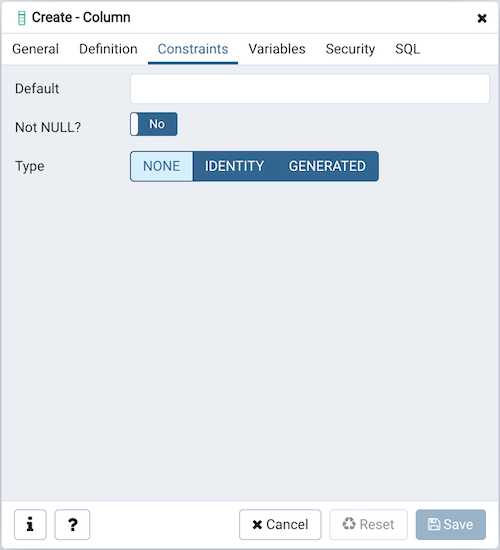
Use the fields in the Constraints tab to specify constraints for the column. (Fields are disabled if inapplicable.)
- Use the Default Value field to specify a default data value.
- Move the Not Null switch to the Yes position to specify the column may not contain null values. The default is No .
- Use the Type field to specify the column type (NONE/IDENTITY/GENERATED). The default is NONE .
Click the IDENTITY type to create Identity column.
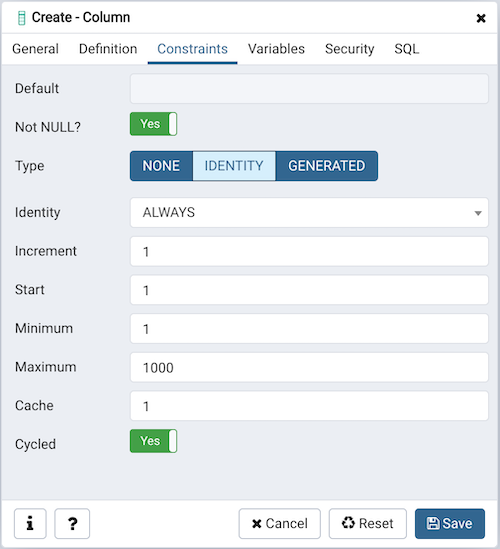
Use the following fields to create IDENTITY column. Identity columns are applicable for PG version 10 and above.
- Use the Identity field to specify ALWAYS or BY DEFAULT. This clause is used to determine how the sequence value is given precedence over a user-specified value in an INSERT statement.
- Use the Increment field to specify which value is added to the current sequence value to create a new value.
- Provide a value in the Start field to specify the beginning value of the sequence. The default starting value is MINVALUE for ascending sequences and MAXVALUE for descending ones.
- Provide a value in the Minimum field to specify the minimum value a sequence can generate. If this clause is not supplied or NO MINVALUE is specified, then defaults will be used. The defaults are 1 and -263-1 for ascending and descending sequences, respectively.
- Provide a value in the Maximum field to specify the maximum value for the sequence. If this clause is not supplied or NO MAXVALUE is specified, then default values will be used. The defaults are 263-1 and -1 for ascending and descending sequences, respectively.
- Provide a value in the Cache field to specify how many sequence numbers are to be preallocated and stored in memory for faster access. The minimum value is 1 (only one value can be generated at a time, i.e., no cache), and this is also the default.
- Move the Cycled switch to the Yes position to allow the sequence to wrap around when the MAXVALUE or the MINVALUE has been reached by an ascending or descending sequence respectively. If the limit is reached, the next number generated will be the MINVALUE or MAXVALUE, respectively. The default is No .
Click the GENERATED type to create Generated column.
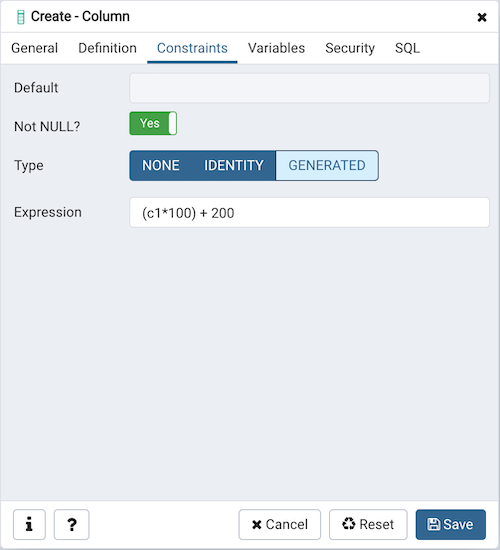
Use the following fields to create GENERATED column. Generated columns are applicable for PG version 12 and above.
- Use the Expression field to specify the generation expression. It can refer to other columns in the table, but not other generated columns. Any functions and operators used must be immutable. References to other tables are not allowed.
Click the Variables tab to continue.
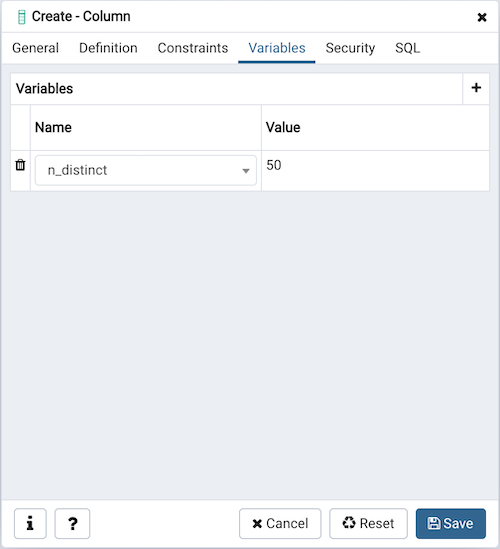
Use the Variables tab to to specify the number of distinct values that may be present in the column; this value overrides estimates made by the ANALYZE command. Click the Add icon (+) to add a Name / Value pair:
-
Select the name of the variable from the drop-down listbox in the Name field.
- Select n_distinct to specify the number of distinct values for the column.
- Select n_distinct_inherited to specify the number of distinct values for the table and its children.
-
Specify the number of distinct values in the Value field. For more information, see the documentation for ALTER TABLE .
Click the Add icon (+) to specify each additional Name / Value pair; to discard a variable, click the trash icon to the left of the row and confirm deletion in the Delete Row popup.
Click the Security tab to continue.
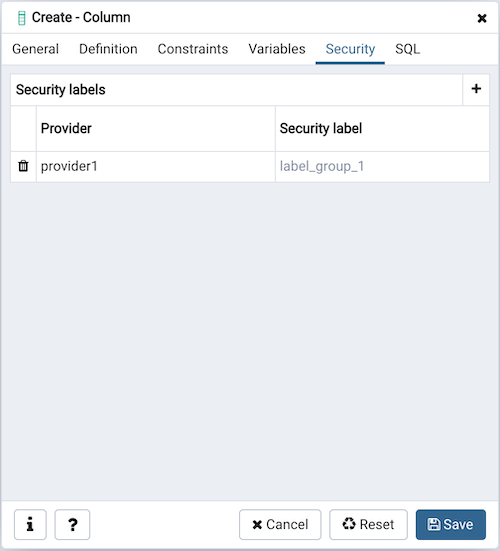
Use the Security tab to assign attributes and define security labels. Click the Add icon (+) to add each security label selection:
- Specify a security label provider in the Provider field. The named provider must be loaded and must consent to the proposed labeling operation.
- Specify a a security label in the Security Label field. The meaning of a given label is at the discretion of the label provider. PostgreSQL places no restrictions on whether or how a label provider must interpret security labels; it merely provides a mechanism for storing them.
Click the Add icon (+) to assign additional security labels; to discard a security label, click the trash icon to the left of the row and confirm deletion in the Delete Row popup.
Click the SQL tab to continue.
Your entries in the Column dialog generate a SQL command (see an example below). Use the SQL tab for review; revisit or switch tabs to make any changes to the SQL command.
Example 
The following is an example of the sql command generated by user selections in the Column dialog:

The example shown demonstrates creating a column named territory in the table named distributors .
- Click the Info button (i) to access online help.
- Click the Save button to save work.
- Click the Cancel button to exit without saving work.
- Click the Reset button to restore configuration parameters.