Installation and Configuration
This topic describes how to install and configure Crunchy PostgreSQL for Pivotal Cloud Foundry (PCF) Tile.
If performing an upgrade of the Tile, please refer to the Upgrading section before proceeding.
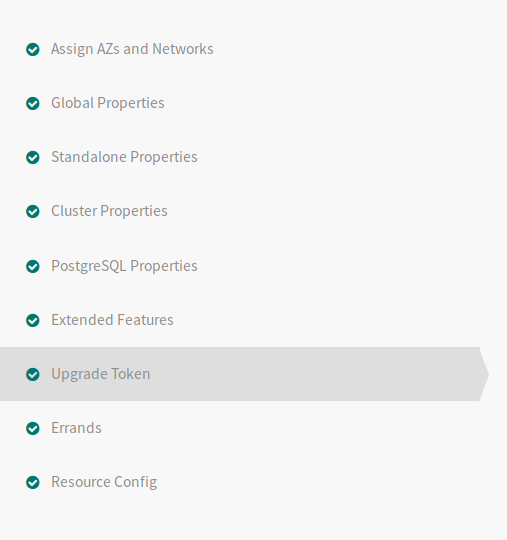
If upgrading the Tile, an Upgrade Token must be obtained from Crunchy Data prior to beginning an upgrade action. The upgrade process will not be able to complete without an Upgrade Token. Failure to obtain an Upgrade Token prior to the upgrade process will result in broker errors.
Import the Tile to Ops Manager
Download the Crunchy PostgreSQL for Pivotal Cloud Foundry (PCF) Tile file from Pivotal Network.
Navigate to the Ops Manager Installation Dashboard and click Import a Product to upload the product file.
Under the Import a Product button, click + next to the version number of Crunchy PostgreSQL for PCF. This adds the tile to your staging area.
Configuring the Service
Click the newly added Crunchy PostgreSQL tile on the Ops Manager Installation Dashboard to open the configuration panes.
If necessary, import a stemcell as required by the service.
Configure each section as described below.
Configure AZ and Network Assignments
To make Crunchy PostgreSQL highly available, you must balance the service across multiple availability zones (AZs).
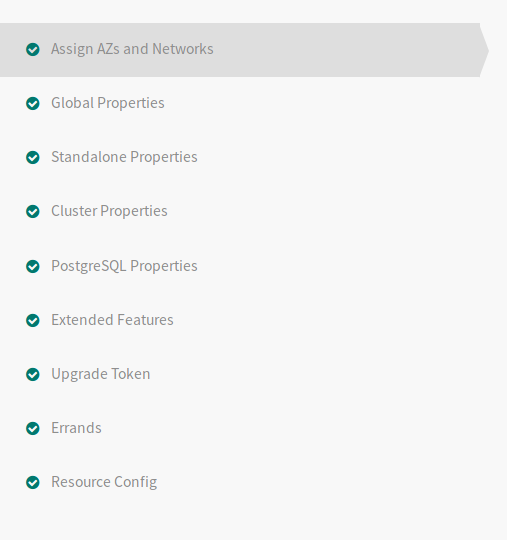
Click Assign AZs and Networks.
Choose an AZ to deploy singleton jobs. This is a private service network with a route to a public gateway.
Choose AZ to balance jobs. This should be a private service network with a route to a public gateway. Crunchy Data recommends two or more AZs when possible.
Choose the primary network where the On-Demand Broker will be deployed.
Choose the service network that On-Demand Broker will use to deploy VMs. This is a private service network with a route to a public gateway.
Click Save.
Configure Global Properties
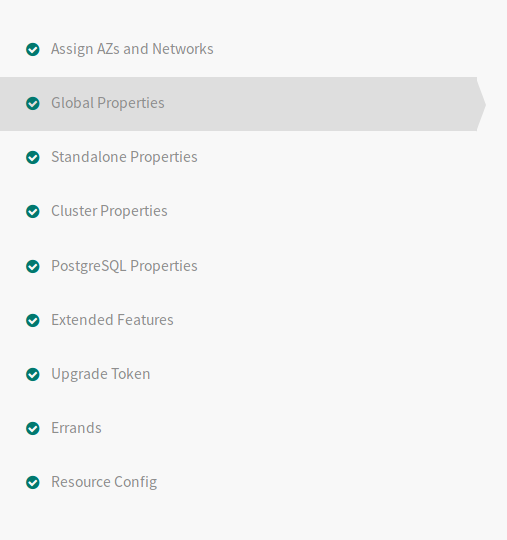
Click Global Properties.
Configure a username and passphrase for a BOSH UAA Client.
- Requires BOSH UAA client credentials and either
bosh.readorbosh.adminscope. - If the account is a BOSH client admin login, select the check box
labeled
Account Has Admin. - Example with BOSH read:
<ops manager url>/api/v0/deployed/director/credentials/uaa_login_client_credentials
- Requires BOSH UAA client credentials and either
Configure the maximum number of upgrades that can be processed at a given time.
Choose an AZ in which to deploy these services.
Configure the availability of the Standalone PostgreSQL plan for organizations.
Configure the number of Standalone PostgreSQL instances permitted in the environment.
Configure the availability of the Replica PostgreSQL plan for organizations.
Configure the number of Replica PostgreSQL instances permitted in the environment.
Configure the availability of the General PostgreSQL plan for organizations.
Configure the number of General PostgreSQL instances permitted in the environment.
Configure the availability of the General Monitored PostgreSQL plan for organizations.
Configure the number of General Monitored PosgreSQL instances permitted in the environment.
Configure the availability of the Custom PostgreSQL plan for organizations.
Configure the number of Custom PostgreSQL instances permitted in the environment.
Configure the availability of the Custom Monitored PostgreSQL plan for organizations.
Configure the number of Custom Monitored PosgreSQL instances permitted in the environment.
Click Save.
Configure Standalone Properties
Standalone plans are configured using suggested defaults. Operators may wish to review these settings for resource usage.
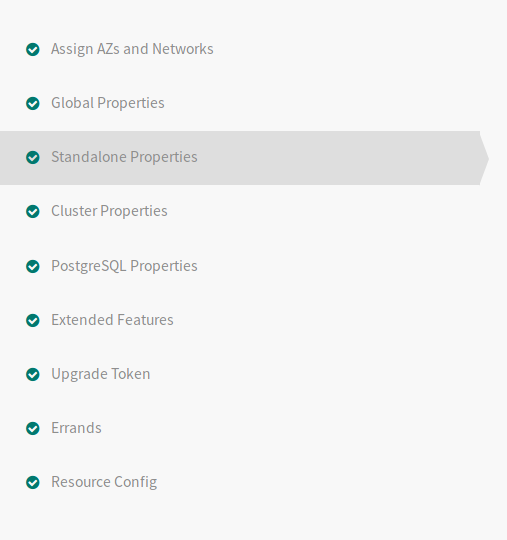
Click Standalone Properties.
Select a default size for the standalone instances.
Select a default disk size for the standalone instances.
Optionally enable backups by default for all standalone instances.
Select a default maximum connections per standalone instance.
Setting PostgreSQL VMs to less than 4 GB of memory is not recommended.
Setting PostgreSQL VMs to fewer than 2 cores is not recommended.
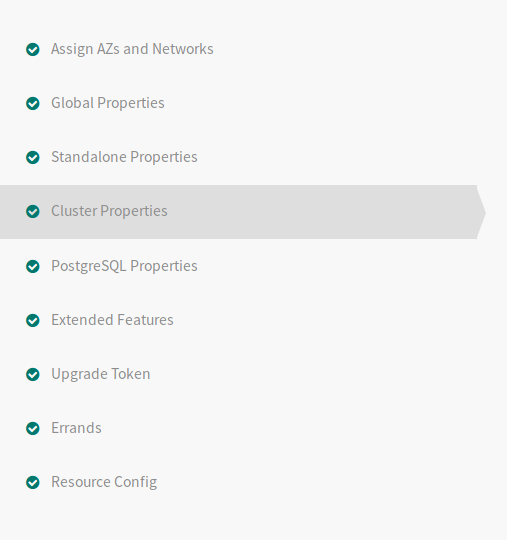
Configure Cluster Properties
Cluster plans are configured using suggested defaults. Operators may wish to review these settings for resource usage.
Select the default system specification for General plans.
Select the default disk size for the General plans.
Select the default number of PostgreSQL instances in a General plan.
Select the default maximum number of connections to the PostgreSQL instances.
Select the system specifications and disk types for the Consul, HAProxy, and errand Virtual Machines.
Do not set any cluster plan which uses PostgreSQL or pgBackrest VMs to less than 4 GB of memory.
Do not set any cluster plan which uses PostgreSQL or pgBackrest VMs to fewer than 2 cores.
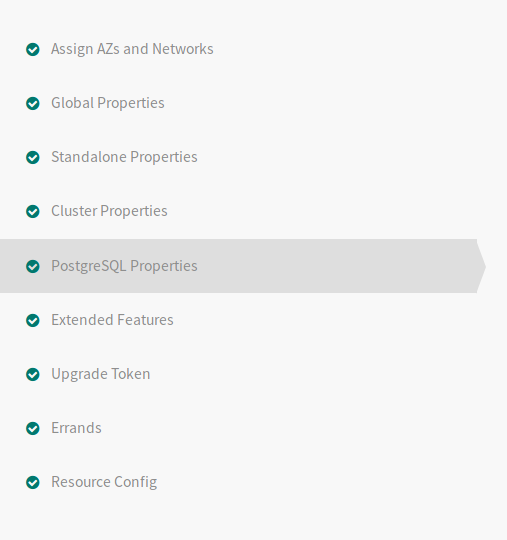
Configure PostgreSQL Properties
The standard plans made available to developers must be configured prior to deployment.
Select the Log File Name Pattern by which PostgreSQL will rotate the logs.
Select the frequency with which PostgreSQL will rotate the logs.
Select the size by which PostgreSQL will rotate the logs.
Select the default Archive Mode for instances. If “S3” or “local&S3” are selected, enter the associated S3 bucket info.
- Repo Path Prefix setting allows for defining a ‘subfolder’ within the bucket.
- pgBackRest repositories can be stored in the bucket root by setting this value to
/, but it is usually best to specify a prefix, such as/repo, so logs and other AWS generated content can also be stored in the bucket. - Services will be archived to this path, each with their own folder based on the service GUID.
- If the S3 provider requires the legacy path-based URI structure, change the S3 URI Style to path-style
- If the S3 provider presents an SSL certifcate trusted by the default Certificate Authorities provided in the Stemcell, enabling Verify S3 SSL certificates is recommended.
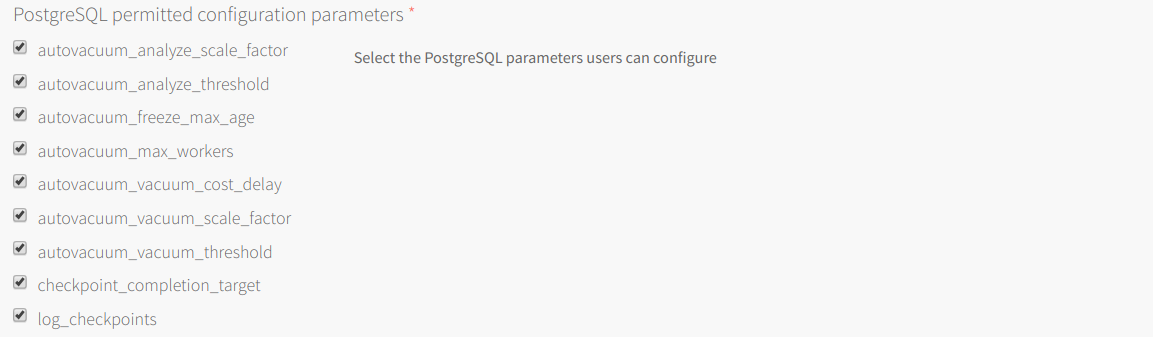
Select the PostgreSQL configuration parameters developers will be allowed to set while using a Crunchy PostgreSQL service instance.
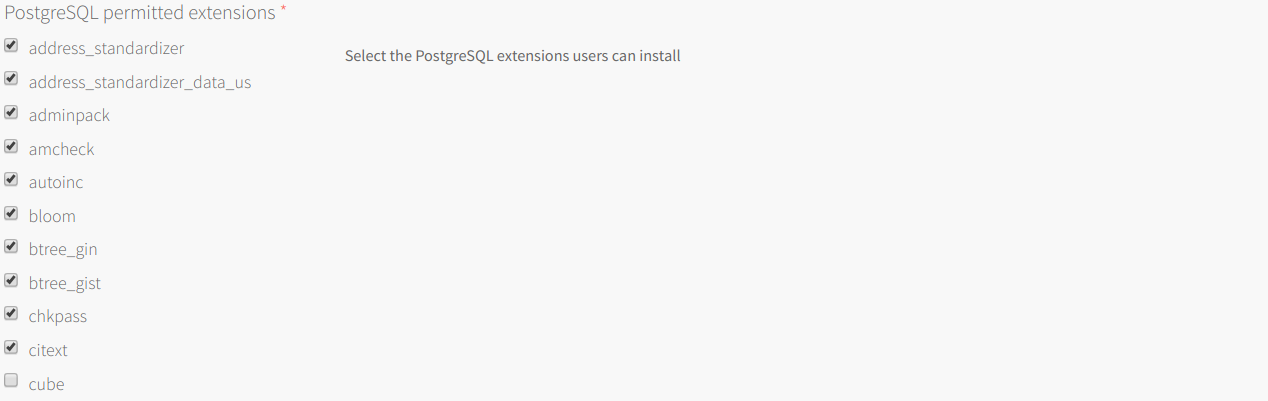
Select the PostgreSQL extensions developers will be allowed to create while using a Crunchy PostgreSQL service instance.
If Standalone Replica plans are to be used in the environment, only use “local” or “local&S3” options. Selecting S3 only archive mode will cause serious configuration issues on Standalone Replica instances.
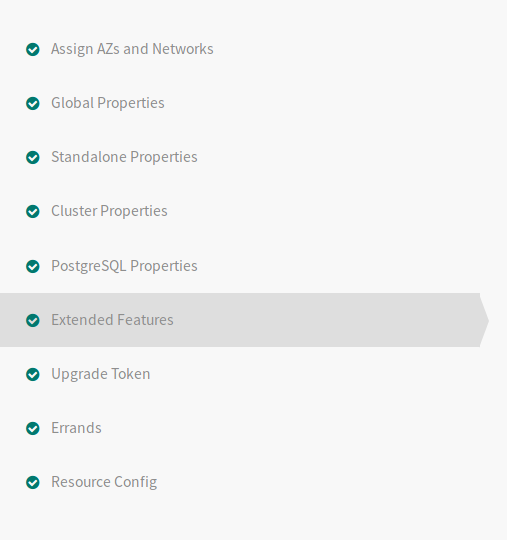
Extended Features
Optionally, configure extended service features
Either enable or disable the option to allow developers to use MD5 authentication when binding applications to the service instances.
Either enable or disable the option to allow developers to provision service instances that can expose superuser views of the
pg_stat_activitydata.Set the level that you want to enforce SSL connections to and within the database. Options for this are
off,optional, andrequired.- Selecting
offwill make no changes to the current tile and connections will not be secured with SSL. If SSL Certificates are provided whenoffis selected they will not be used. - Selecting
optionalwill enable SSL and use the provided certificates to give developers the option to connect with SSL. - Selecting
requiredwill enable SSL with the provided certificates and reject any connections that are not using SSL.
- Selecting
If you are enforcing SSL to be
optionalorrequired, you will need to provide SSL certificates to the broker. This can be done by either adding a certificate and key to the tile interface or generating the files using the tile. Clicking theGenerate RSA Certificatewill generate the certificate files using the domain that you provide.
If SSL connections are enabled on a cluster that uses monitoring, connections going from the database to monitoring services will not be secured with SSL.
Configure Errands
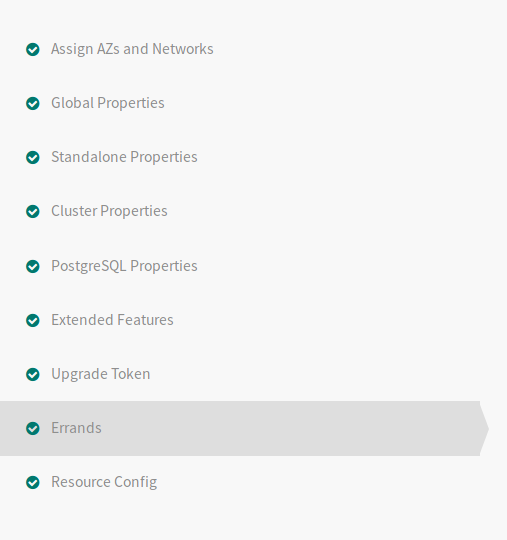
Click Errands.
Configure the errands that should be run after deployment of the service. Crunchy Data recommends the defaults.
Click Save.
Configure Resources
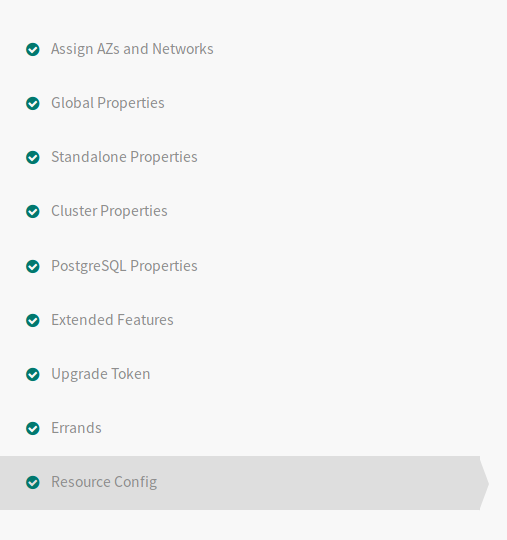
Click Resource Config.
Review the pre-populated recommended server sizes and make any necessary changes. Crunchy Data recommends the defaults.
Click Save.
Install the Tile
Return to the Ops Manager Installation Dashboard.
Click Apply Changes to install the Crunchy PostgreSQL for PCF tile.
Upgrading the Tile
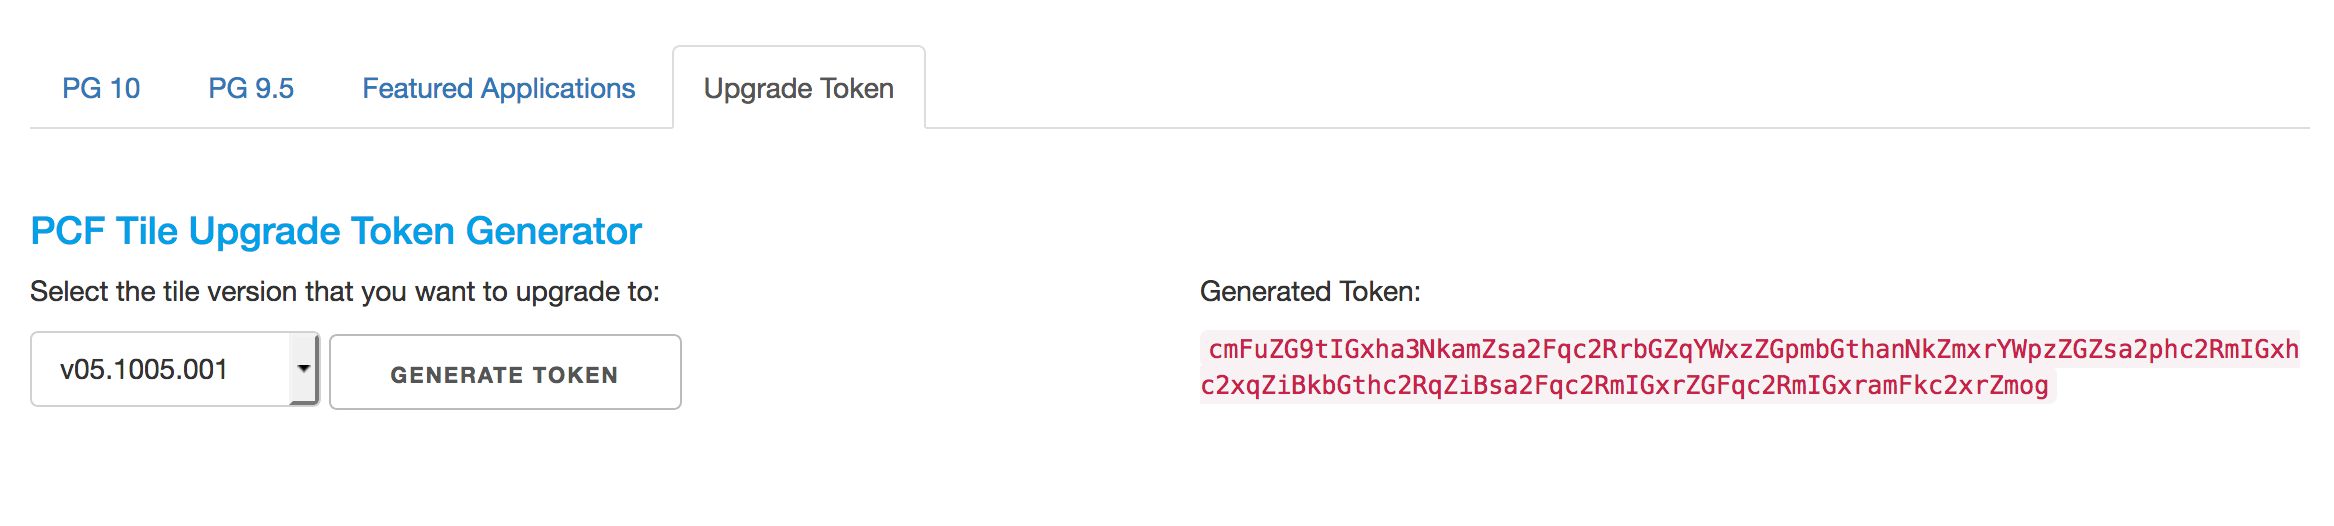
Obtain the Upgrade Code from Crunchy Data’s Customer Access Portal.
- Log in to the Customer Access Portal and select PCF Tile Upgrade Token
- Select the version to which you wish to upgrade
- Select the Generate Token button to receive the Upgrade Token
Enter the Upgrade Code, exactly as provided, into the associated field on the Upgrade Token page of the Tile Installer
Continue the steps as necessary from the Errands section.